Help4 Builder Screenshots

Settings dashboard
Confirm modules, setup wizard state, support links, release channel, and the main Builder Suite shortcuts before building.

Builder Pages
Find builder-enabled pages, open Builder Studio, and keep drafts separate from live customer pages.

Builder Studio
Build the page visually with responsive controls, element panels, performance guidance, and a live preview.

Template Library
Start from page-purpose templates instead of staring at a blank canvas.

Theme Builder
Create global headers, footers, 404s, page shells, canvas landing pages, popups, and display conditions.

Fields Lab
Plan field groups, repeaters, images, and dynamic output for content that should not be edited as fragile page text.
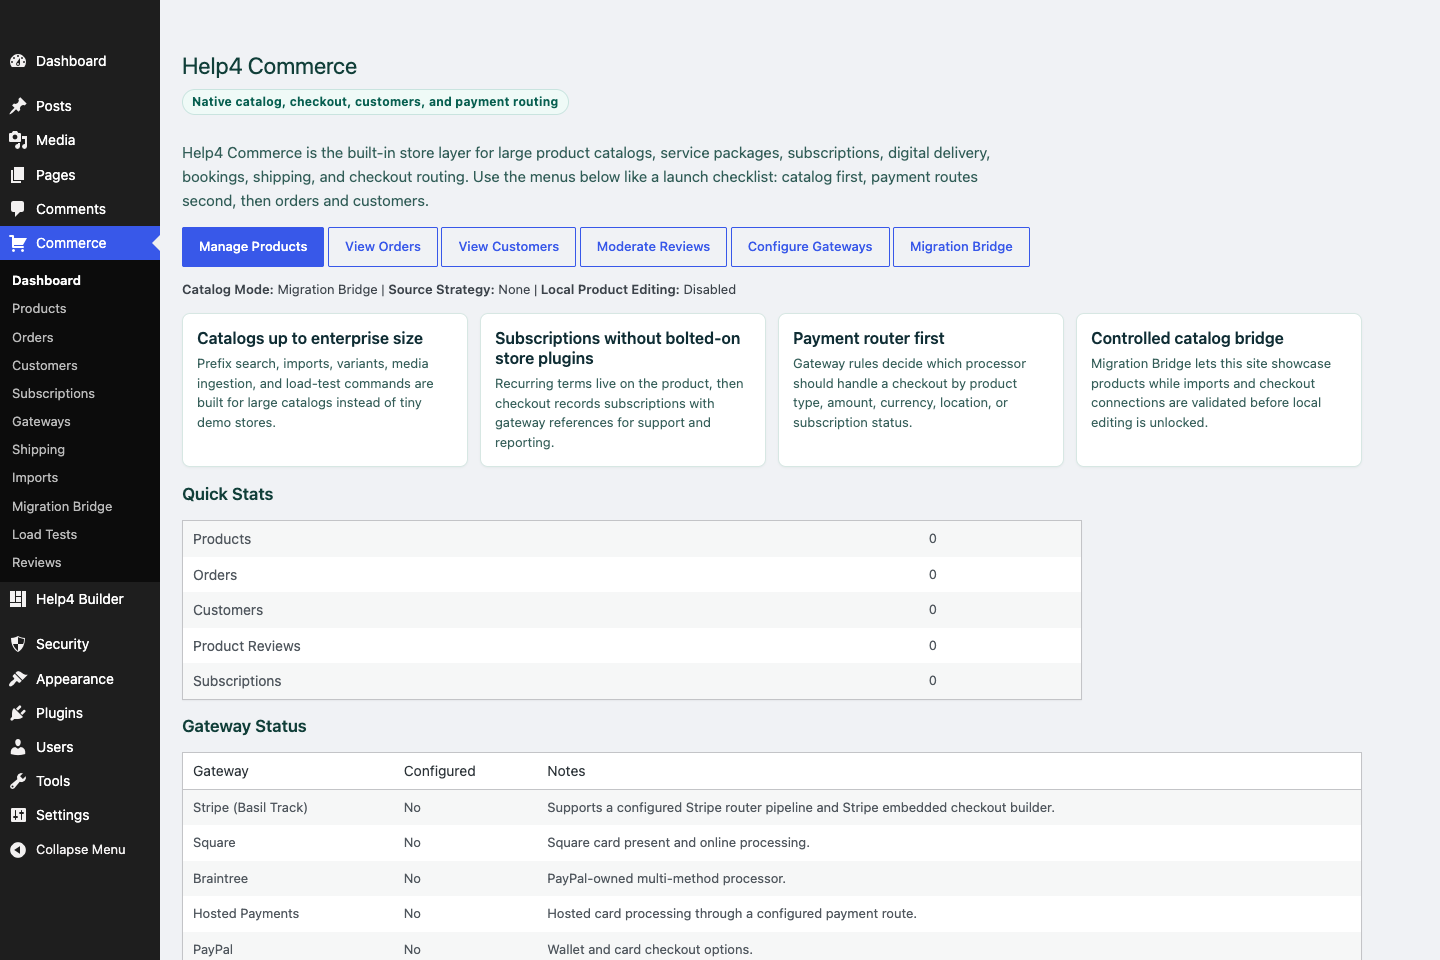
Commerce dashboard
Review products, orders, customers, subscriptions, gateway routing, imports, and migration tools from one commerce hub.
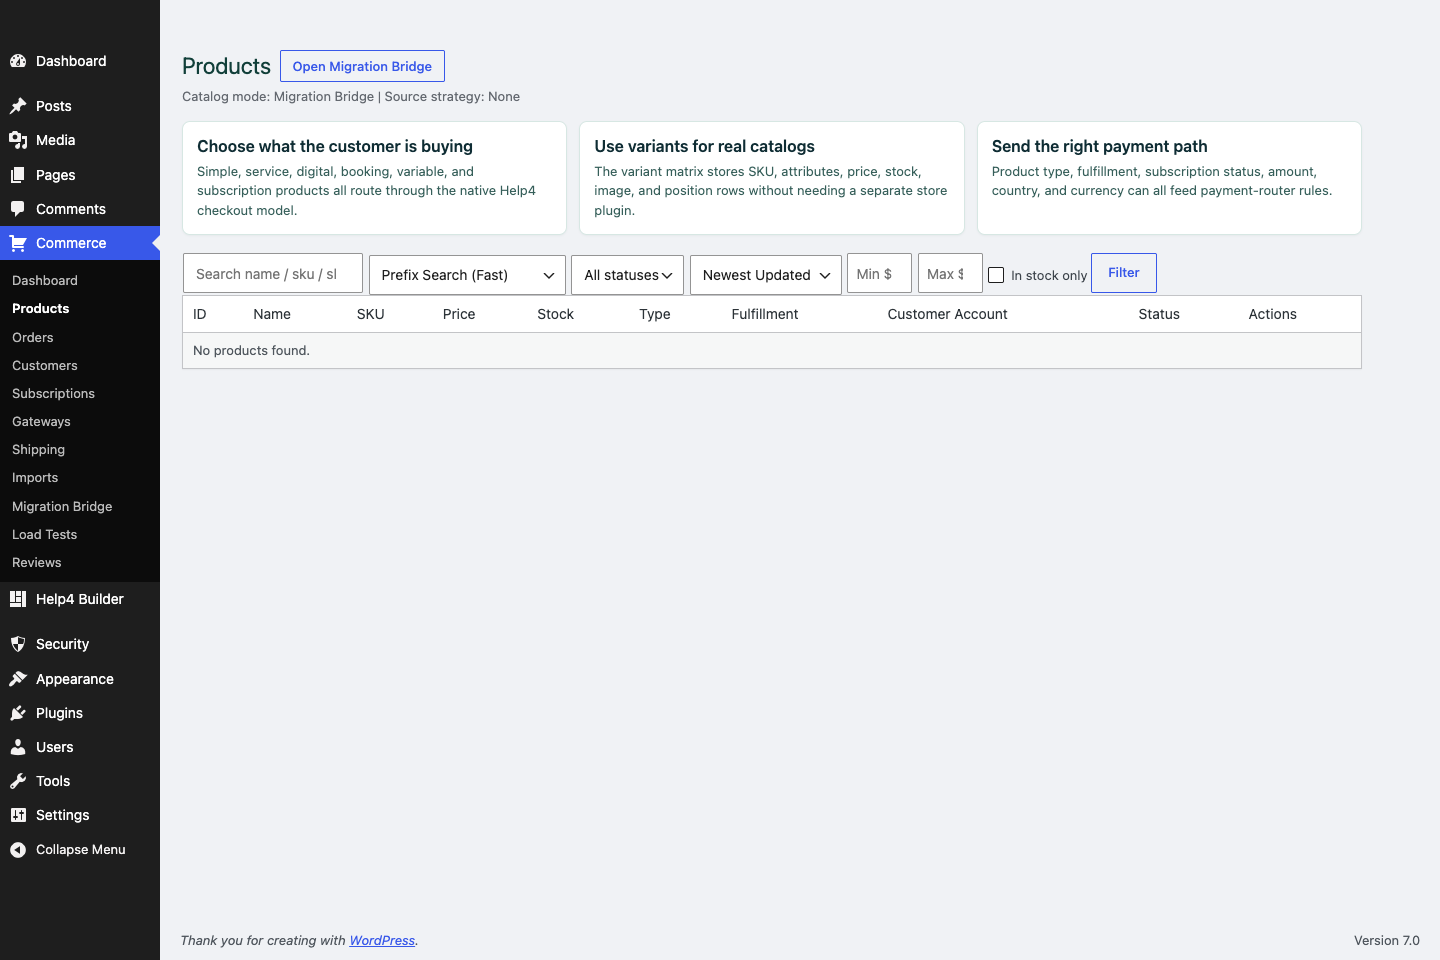
Commerce products
Create products, variations, subscriptions, product images, catalog fields, and checkout context.

Forms
Create quote, contact, newsletter, booking, and support forms with clear routing and confirmation messages.
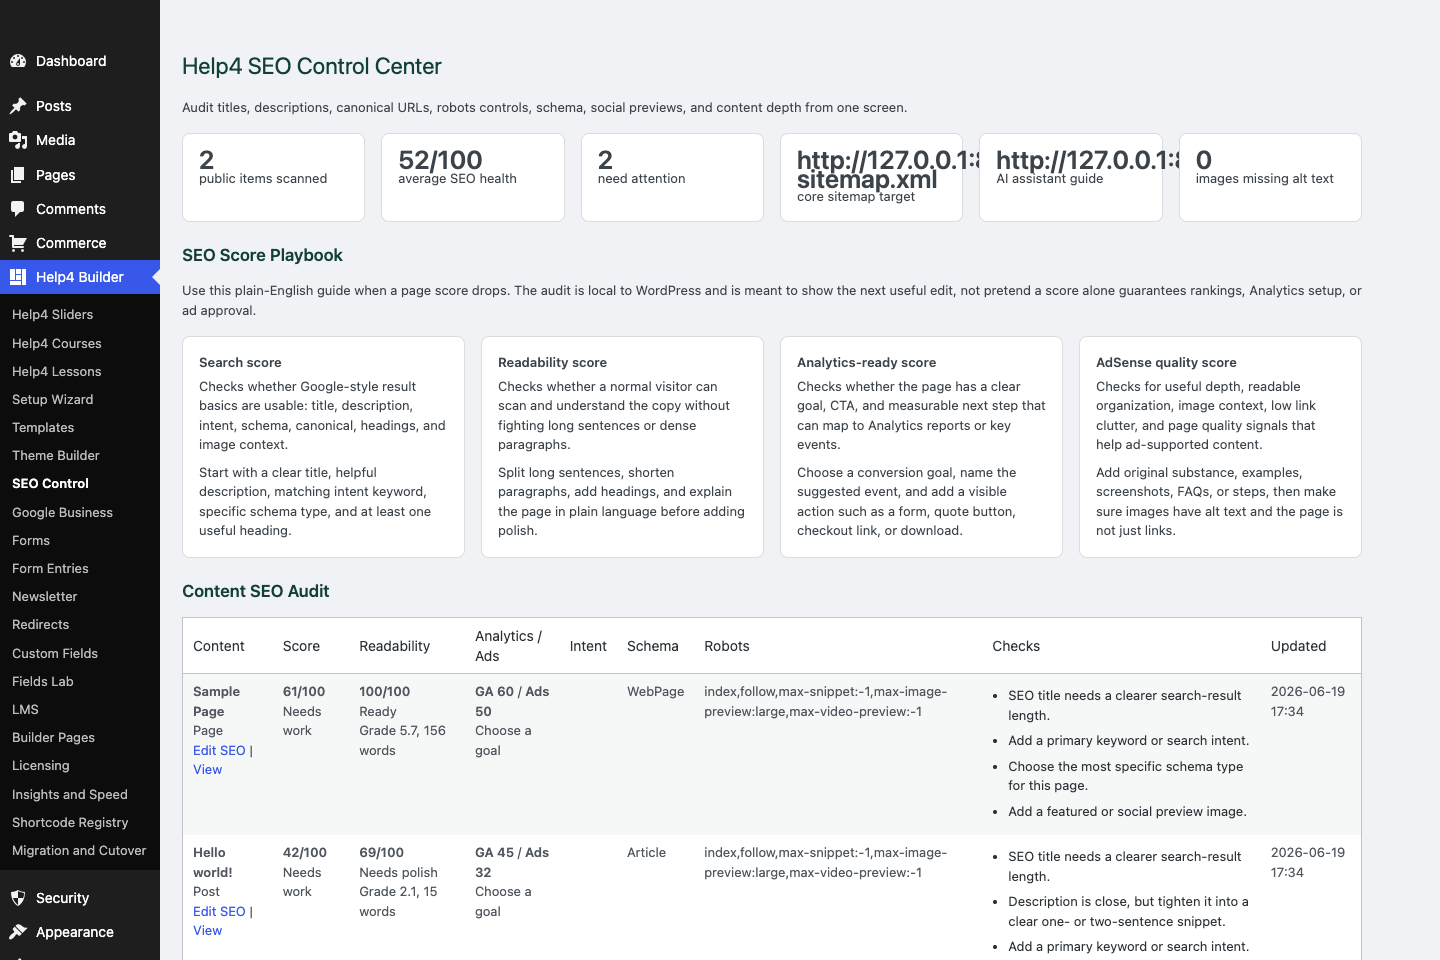
SEO control
Check titles, descriptions, canonical URLs, schema, readability, AdSense-style quality, Analytics intent, and launch signals.

Security
Review SSL, headers, login hardening, XML-RPC controls, checkout safety, and production hardening settings.

Updates
Confirm the installed version, free update status, manifest URLs, beta/stable channel behavior, and package checks.
| Screen | Use it for | First safe action |
|---|---|---|
| Settings dashboard | Modules, setup, support, release state | Confirm only needed modules are enabled. |
| Builder Pages | Page selection and builder launch | Open a draft page before touching live content. |
| Builder Studio | Visual page building and responsive checks | Build sections first, then content, then mobile. |
| Theme Builder | Global headers, footers, templates, 404s, popups | Create one global header/footer before exceptions. |
| Fields Lab | Structured custom content | Create a field group only when content repeats. |
| Commerce | Catalog, variations, subscriptions, routing | Plan product data before checkout. |
| SEO/Security | Launch quality and hardening | Check readability, metadata, SSL, and headers before launch. |
Start here
Install and setup
Download the ZIP, activate Builder Suite, understand the blank-theme path, and run the first clean check.
First page
Build a page safely
Open Builder Pages, launch Studio, build structure first, check mobile, then publish or hand it to Help4.
Templates
Choose a starter
Pick a starter spec by page job: service, product, support, recent work, local SEO, launch, or checkout recovery.
Theme layer
Headers and footers
Use Theme Builder for global headers, footers, 404s, page shells, canvas pages, popups, and conditions.
Fields
Structured content
Use fields when content repeats: FAQs, service areas, specs, team members, galleries, relationships, and product data.
Commerce
Products and payments
Plan catalog data, variations, subscriptions, checkout context, and payment routing before launch.
Capture leads
Forms and sliders
Use forms and motion only where they support the page goal and do not load extra assets everywhere.
Launch QA
SEO, speed, security
Check metadata, schema, readability, AdSense-style quality, Analytics intent, SSL, headers, images, and mobile.
Proof
Website Snapshot
Turn public URLs into safe website screenshots for recent work, migrations, support notes, and launch recaps.
Release safety
Updates
Use stable live packages and md beta testing to keep Builder Suite ready for the next WordPress line.
Screen does not match your install?
Send Help4 a screenshot before guessing.
A clean install is easy to fix. Send the admin screen, plugin version, WordPress version, and the page you were trying to edit.