Help4 Email Marketing First Campaign Guide
Before changing settings
Confirm the site, user state, current version, and recovery path.
Open the exact site and feature named in the request, record its current behavior, and keep a bounded recovery option. Change one setting group at a time so the verification can identify what actually changed.
Target
Record the domain, URL or admin screen, user role, viewport, and specific outcome before changing configuration.
Current state
Capture the relevant version, enabled module, existing value, and a fresh public or runtime check.
Recovery
Keep the previous immutable package, WordPress revision, export, or narrow data snapshot needed for this feature.
Privacy
Keep credentials, private customer data, payment secrets, nonces, and protected files out of screenshots and support reports.
Visual orientation
Match the screen before following the steps.
Open each image at full size. The numbered notes explain what the screen controls and what to confirm before changing customer content.
Screen 1
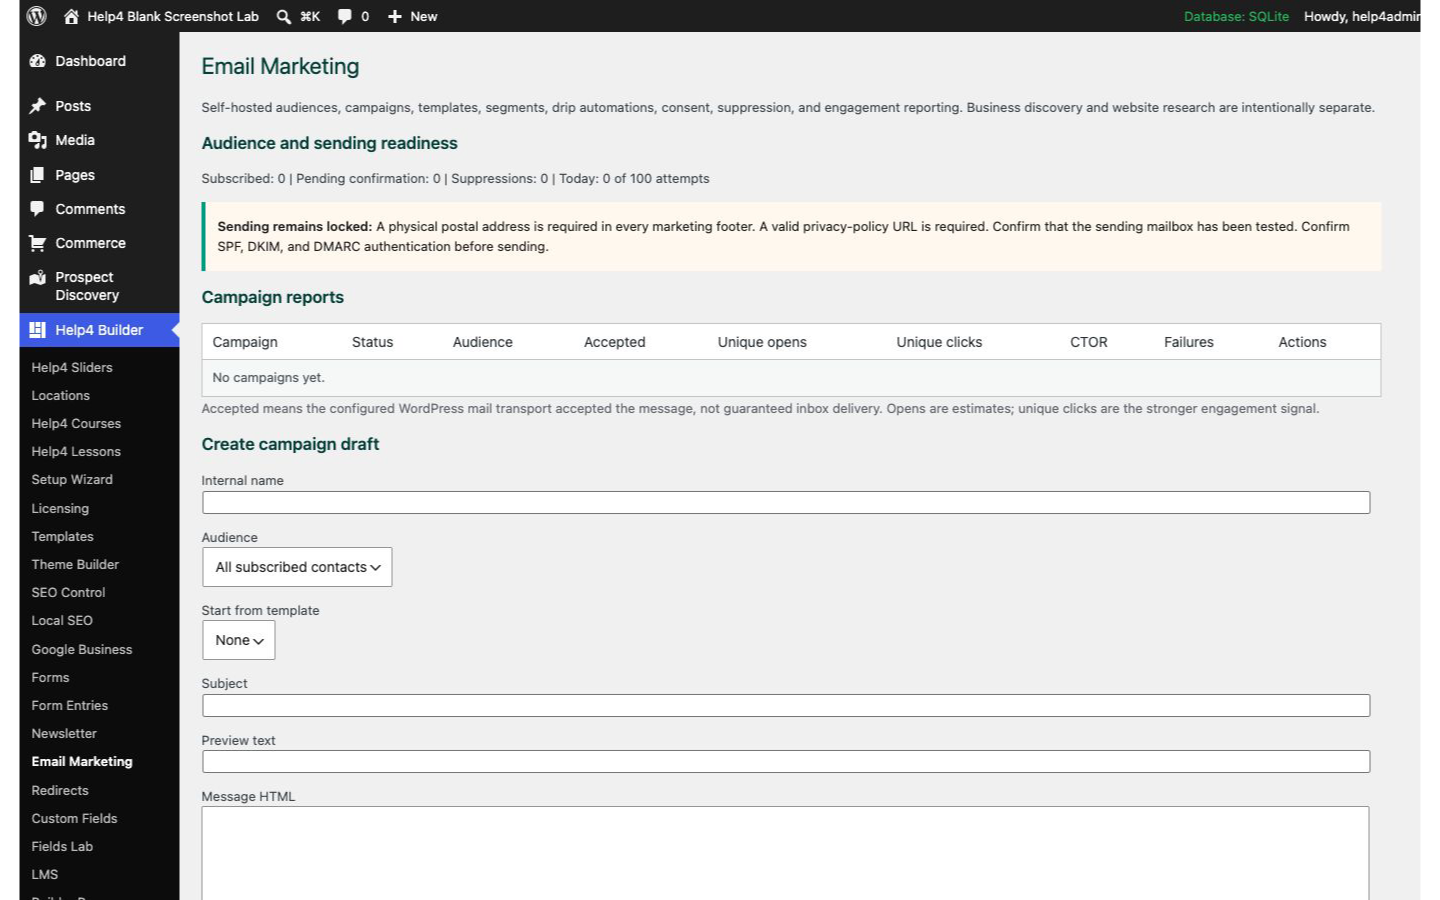
Create and test a campaign
Confirm sender readiness, choose the intended audience, prepare subject and preview text, and save a draft before scheduling.
Confirm: the page title, selected item, plugin version, and intended responsive view match the task.
Screen 2
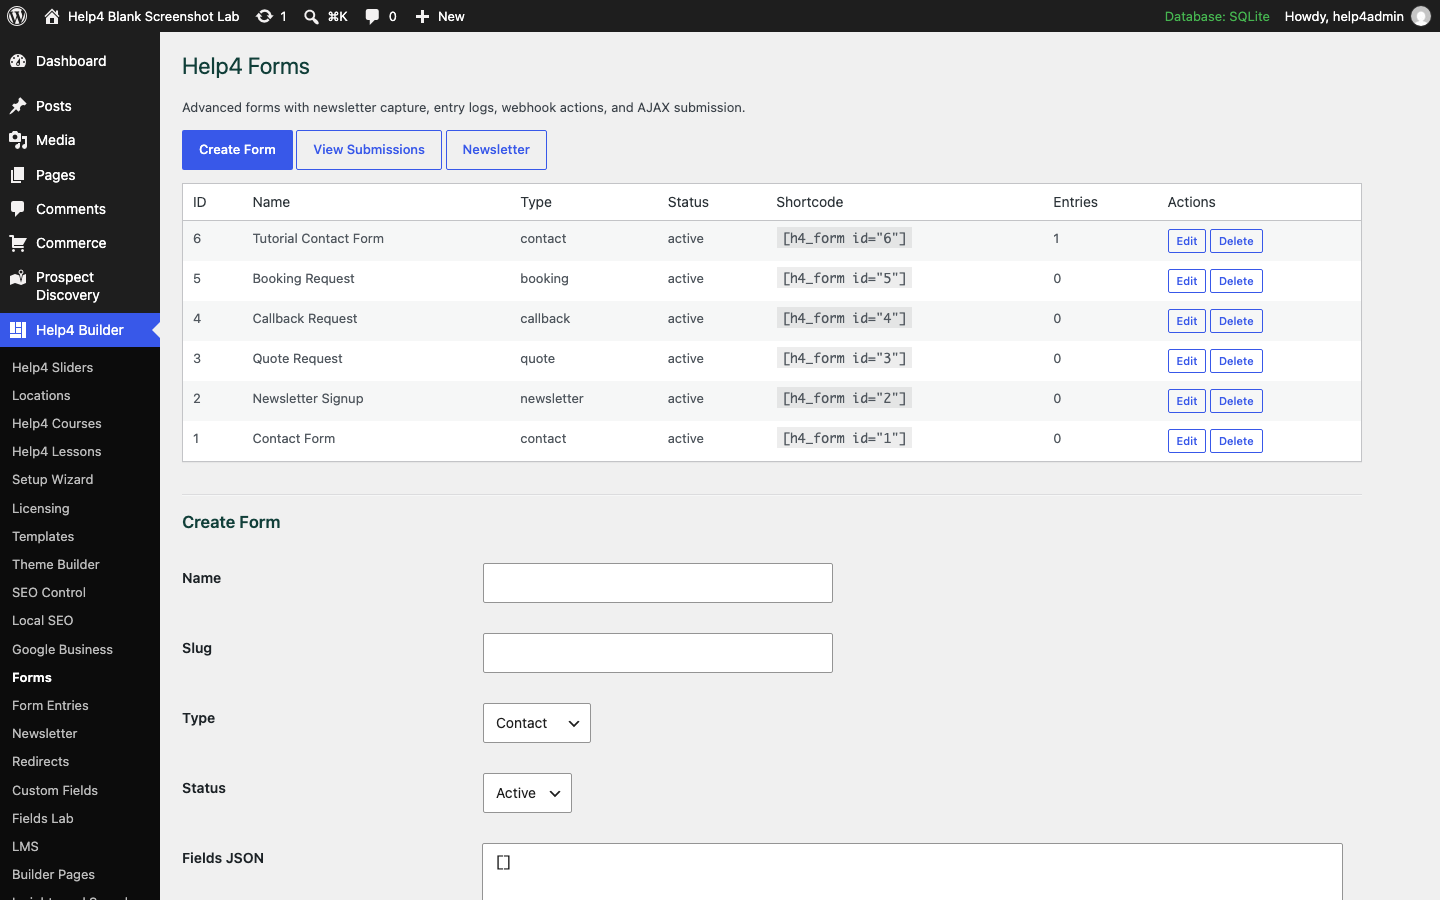
Forms and delivery
Create and verify forms, delivery, submissions, consent, and spam controls as one complete workflow.
Confirm: the page title, selected item, plugin version, and intended responsive view match the task.
Screen 3
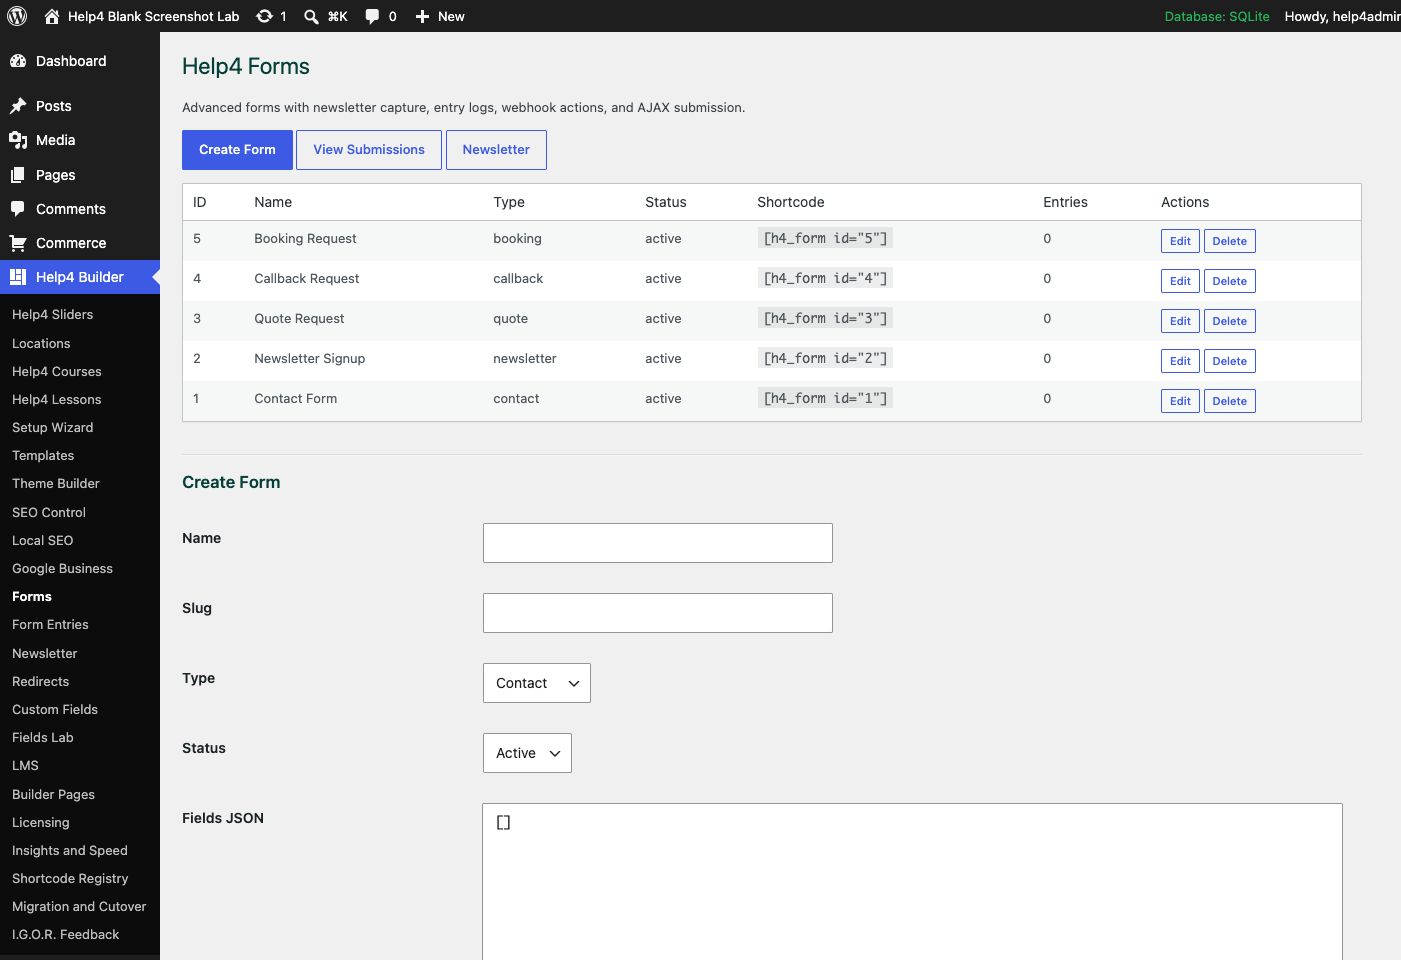
Forms
Create quote, contact, newsletter, booking, and support forms with clear routing and confirmation messages.
Confirm: the page title, selected item, plugin version, and intended responsive view match the task.
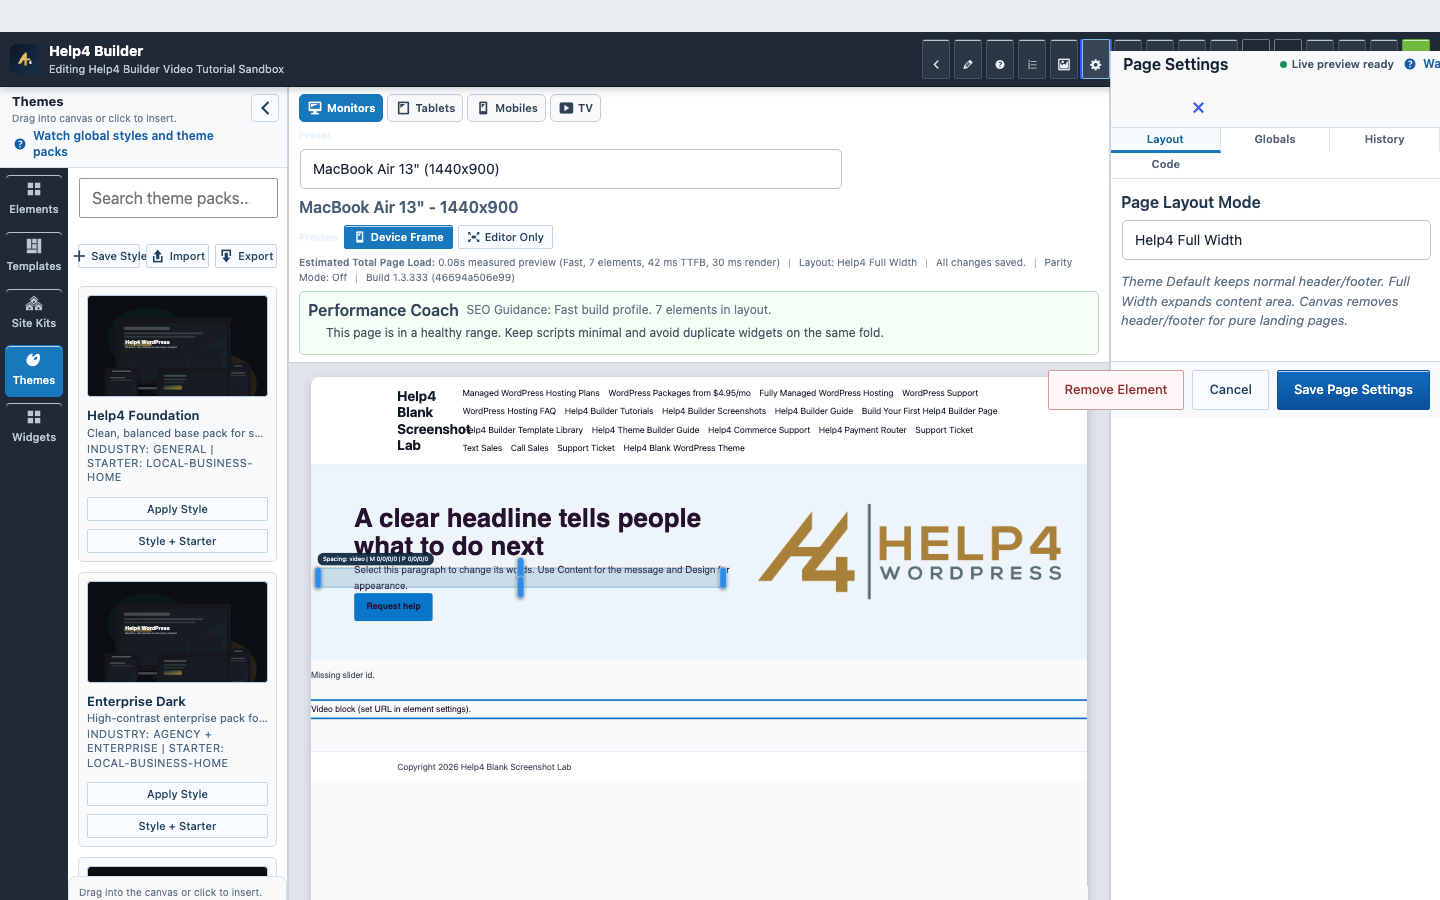
Screen 4
Page Settings and recovery
Confirm page-level layout, history, preview, and recovery controls before a larger edit.
Confirm: the page title, selected item, plugin version, and intended responsive view match the task.
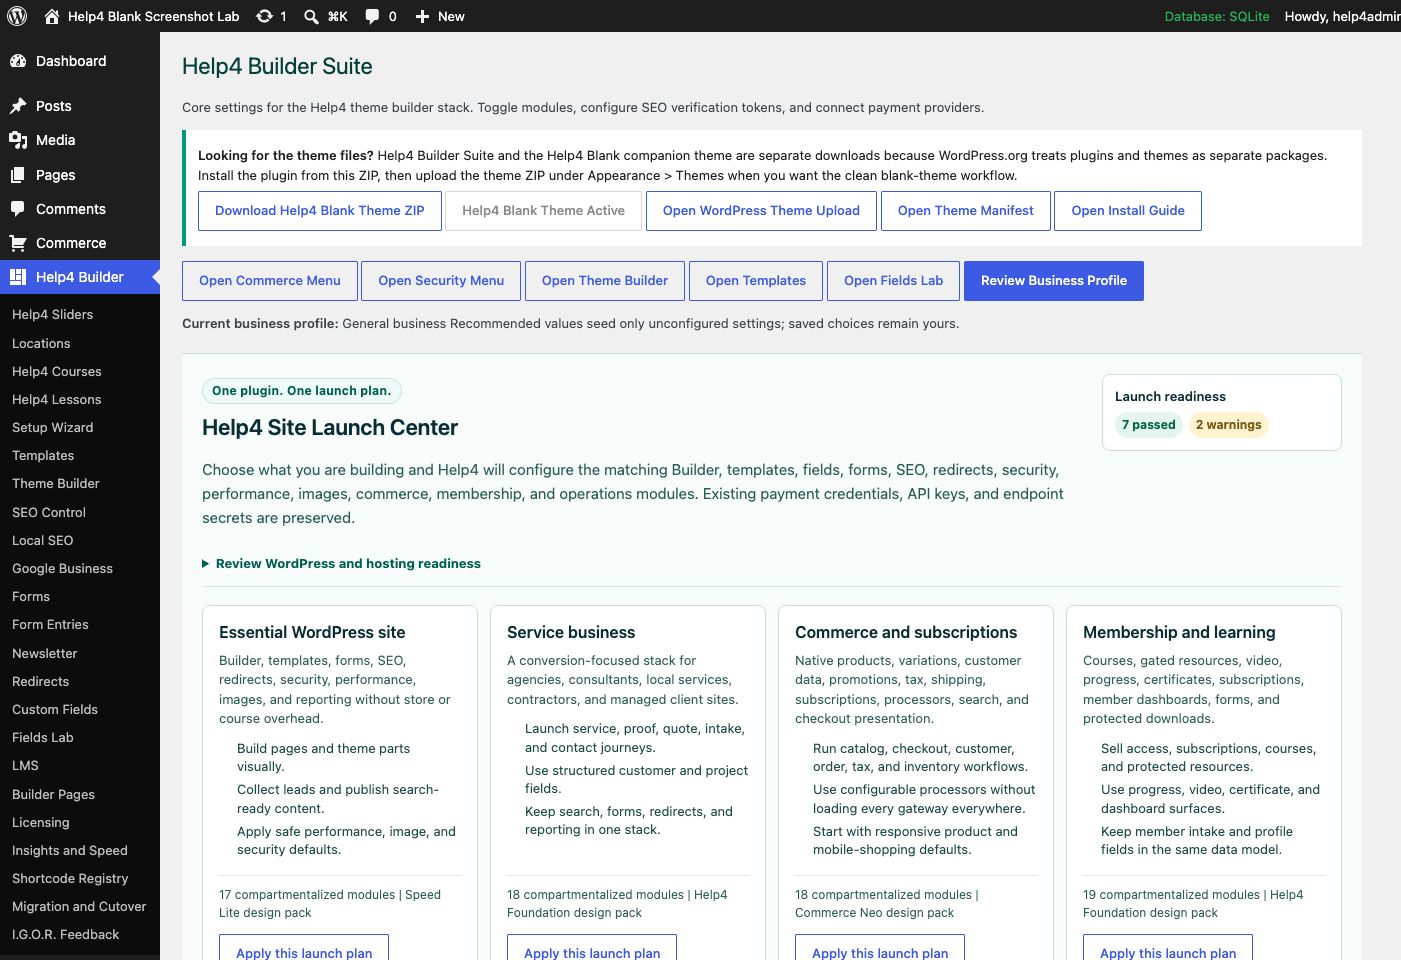
Screen 5
Settings and launch center
Choose a launch plan, confirm modules, download Help4 Blank, review readiness, and keep the site configuration in one place.
Confirm: the page title, selected item, plugin version, and intended responsive view match the task.
Watch the real workflow
Watch the clicks before making the change.
Use the narrated walkthrough first, then follow the written steps and verification checks on this page.
Lesson 9
Forms, Lead Delivery, and Spam Protection
Create a form, add it to a page, configure delivery and consent, and test the full submission path.
Read the complete transcript
- Create the Form
Open Help4 Forms and create the form record first. Give it a clear internal name so editors can choose the correct form later without guessing.
- Place It on the Page
In Studio, insert the Form widget and select the saved form. Keep labels visible, mark required fields accurately, and use fields that match the actual follow-up workflow.
- Configure Delivery
Set the recipient, reply behavior, confirmation message, consent text, retention, and spam controls. Do not assume a form works merely because it looks correct.
- Submit a Real Test
Publish to the approved test page and submit from desktop and mobile. Confirm validation, success messaging, stored submission, notification delivery, and the reply path end to end.
Sending readiness
A campaign draft is not ready until identity, authentication, privacy, and unsubscribe behavior pass.
The readiness notice is a release gate. Resolve every listed requirement and keep the audience source and communication basis documented for the site operating the campaign.
Sender identity
Use an accurate From name, monitored Reply-To mailbox, physical postal address, privacy URL, and consistent site identity.
Domain authentication
Verify SPF, DKIM, and DMARC for the real sending path and complete a mailbox delivery test before enabling volume.
Eligible audience
Send only to the intended confirmed and nonsuppressed contacts, with a lawful and documented communication basis.
Complete message
Provide a useful subject, honest preview text, readable HTML, plain-text fallback, working links, identity, and a functional unsubscribe path.
Guided walkthrough
Make one verified change at a time.
Each step includes the action, why it belongs in this order, and the checkpoint to verify before moving forward.
-
Complete sender settings
Set From, Reply-To, postal address, privacy URL, daily attempt cap, consent wording, and confirmation message, then save the sender configuration.
Why nowStarting from a confirmed target prevents a correct edit from being applied to the wrong page, template, product, or responsive view.
Done whenThe complete sender settings result is visible, remains after reselecting the item, and has not changed unrelated content or styling.
-
Authenticate and test delivery
Verify SPF, DKIM, and DMARC, confirm the sending mailbox, and test delivery through the same WordPress mail transport the campaign will use.
Why nowCompleting and checking this step creates a known-good checkpoint before the next control changes the page state again.
Done whenThe authenticate and test delivery result is visible, remains after reselecting the item, and has not changed unrelated content or styling.
-
Prepare the audience
Use confirmed, nonsuppressed subscribers or a properly defined eligible segment; remove test, stale, bounced, and unrelated contacts.
Why nowCompleting and checking this step creates a known-good checkpoint before the next control changes the page state again.
Done whenThe prepare the audience result is visible, remains after reselecting the item, and has not changed unrelated content or styling.
-
Create a campaign draft
Give the campaign an internal name, choose the audience and optional reusable template, then write the subject and preview text.
Why nowCompleting and checking this step creates a known-good checkpoint before the next control changes the page state again.
Done whenThe create a campaign draft result is visible, remains after reselecting the item, and has not changed unrelated content or styling.
-
Write both message versions
Prepare accessible HTML and a useful plain-text fallback with consistent claims, links, sender identity, privacy information, and unsubscribe behavior.
Why nowCompleting and checking this step creates a known-good checkpoint before the next control changes the page state again.
Done whenThe write both message versions result is visible, remains after reselecting the item, and has not changed unrelated content or styling.
-
Run a controlled test
Send to internal review addresses, check desktop and phone inboxes, click every link, reply to the message, and complete the unsubscribe path.
Why nowCompleting and checking this step creates a known-good checkpoint before the next control changes the page state again.
Done whenThe run a controlled test result is visible, remains after reselecting the item, and has not changed unrelated content or styling.
-
Schedule and verify the report
Choose the intended UTC schedule only after readiness passes, then confirm accepted, failed, clicked, opened, and suppressed outcomes in Campaign reports.
Why nowThe final verification separates an editor preview from a result that is actually saved, responsive, interactive, and ready for visitors.
Done whenThe schedule and verify the report result is visible, remains after reselecting the item, and has not changed unrelated content or styling.
Release check
Test the real public or member outcome, not only the settings screen.
Reopen the saved setting, run the intended workflow in the correct visitor state, test desktop and phone behavior where a frontend surface exists, and inspect fresh browser or PHP errors from the same attempt.
Persistence
The saved values remain correct after reload and do not overwrite newer settings from another session.
Public behavior
The intended visitor can complete the workflow and an unintended visitor cannot access protected output.
Responsive behavior
Controls, text, tables, media, dialogs, and focus stay visible and usable at 768px, 390px, and 360px.
Fresh evidence
The final request has the expected status, output, cache state, and no new related console or PHP error.
Common questions
Answers for the decisions that block this setup most often.
Why does Help4 keep campaign sending locked?
Sending remains locked until required identity, privacy, mailbox, and domain-authentication gates are confirmed.
Why include a plain-text version?
A plain-text fallback improves compatibility and gives recipients a usable message when HTML is unavailable or intentionally blocked.
Does an accepted send mean the message reached the inbox?
No. Accepted means the configured WordPress mail transport accepted the attempt; inbox placement and recipient engagement require separate evidence.
Continue learning
Use the next guide that matches the work in front of you.
The full tutorial hub remains available without repeating dozens of unrelated cards on this page.
Start here
Install and setup
Download the ZIP, activate Builder Suite, understand the blank-theme path, and run the first clean check.
First page
Build a page safely
Open Builder Pages, launch Studio, build structure first, check mobile, then publish or hand it to Help4.
Editor controls
Know which tab changes what
Use Content for information, Design for appearance and responsive values, and Advanced for identity, attributes, visibility, and motion.
Recovery
Edit without losing work
Replace media safely, recognize stale drafts, and restore a known-good page snapshot from Page Settings History.
Responsive
Control every viewport
Set spacing, widths, columns, alignment, and typography independently for desktop, tablet, and mobile.
Templates
Choose a starter
Pick a starter spec by page job: service, product, support, recent work, local SEO, launch, or checkout recovery.
Need a second set of eyes?
Send one complete, privacy-safe support record.
Include the affected URL or admin screen, current Builder version, user state, exact steps, expected result, actual result, and one screenshot or fresh error when available.