Help4 Builder Guide
Help4 Builder Guide
This guide walks your team through designing pages with Help4 Visual Builder so what you build in the editor matches what visitors see on the live site.
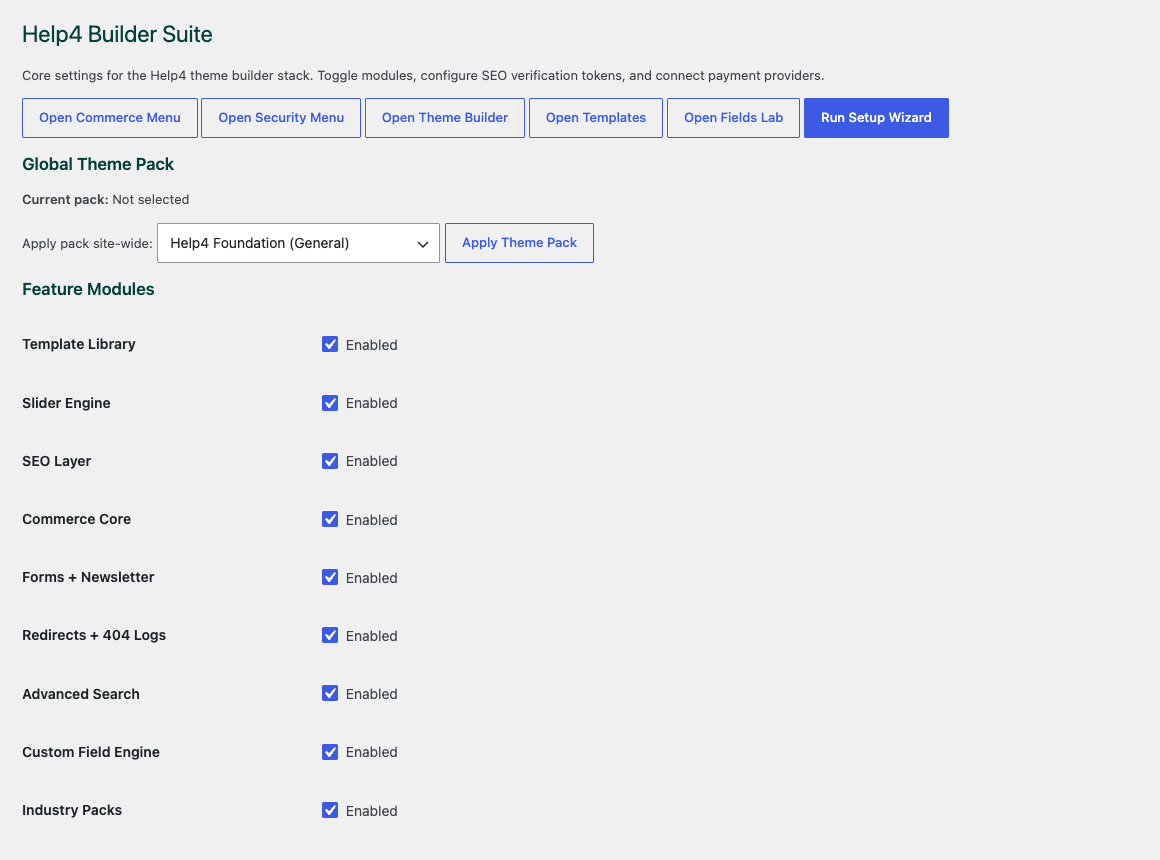
Settings dashboard
Confirm modules, release channel, support links, and first-run setup before building.
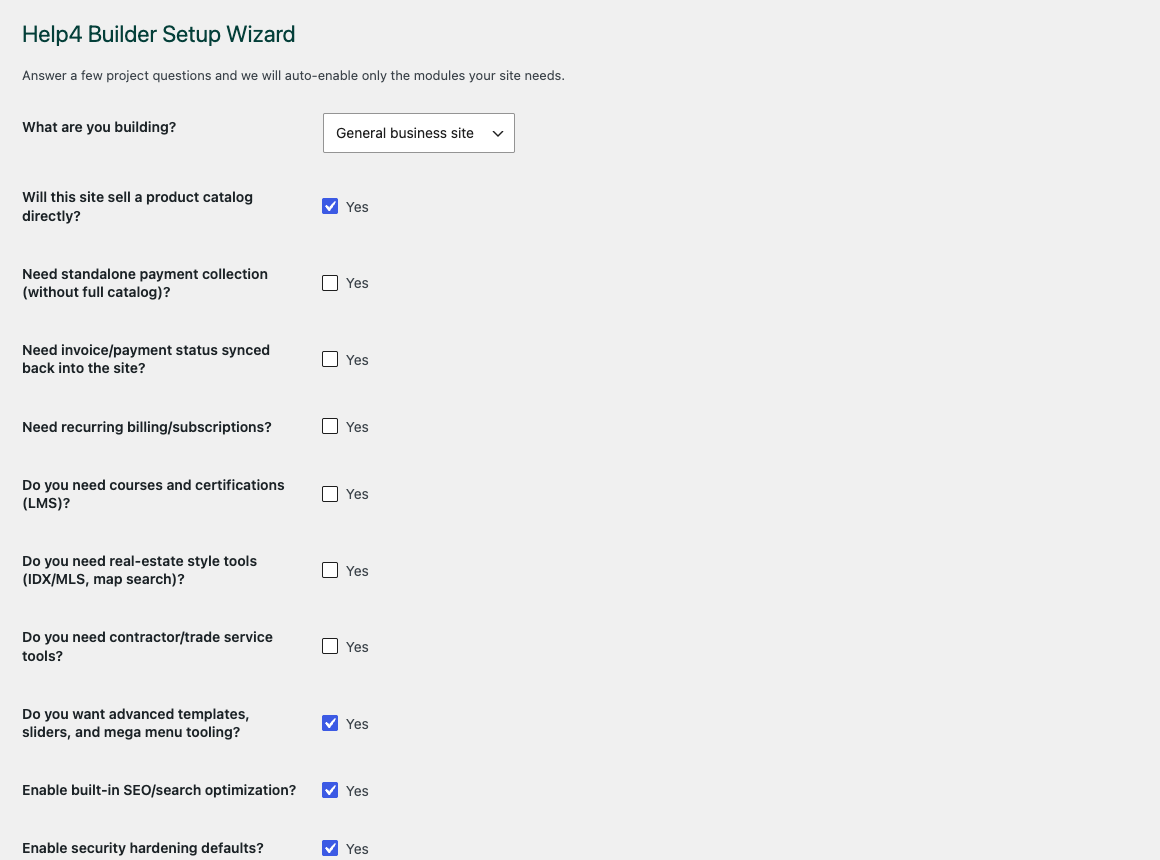
Setup wizard
Turn on only the modules the site actually needs so the builder stays clear and fast.
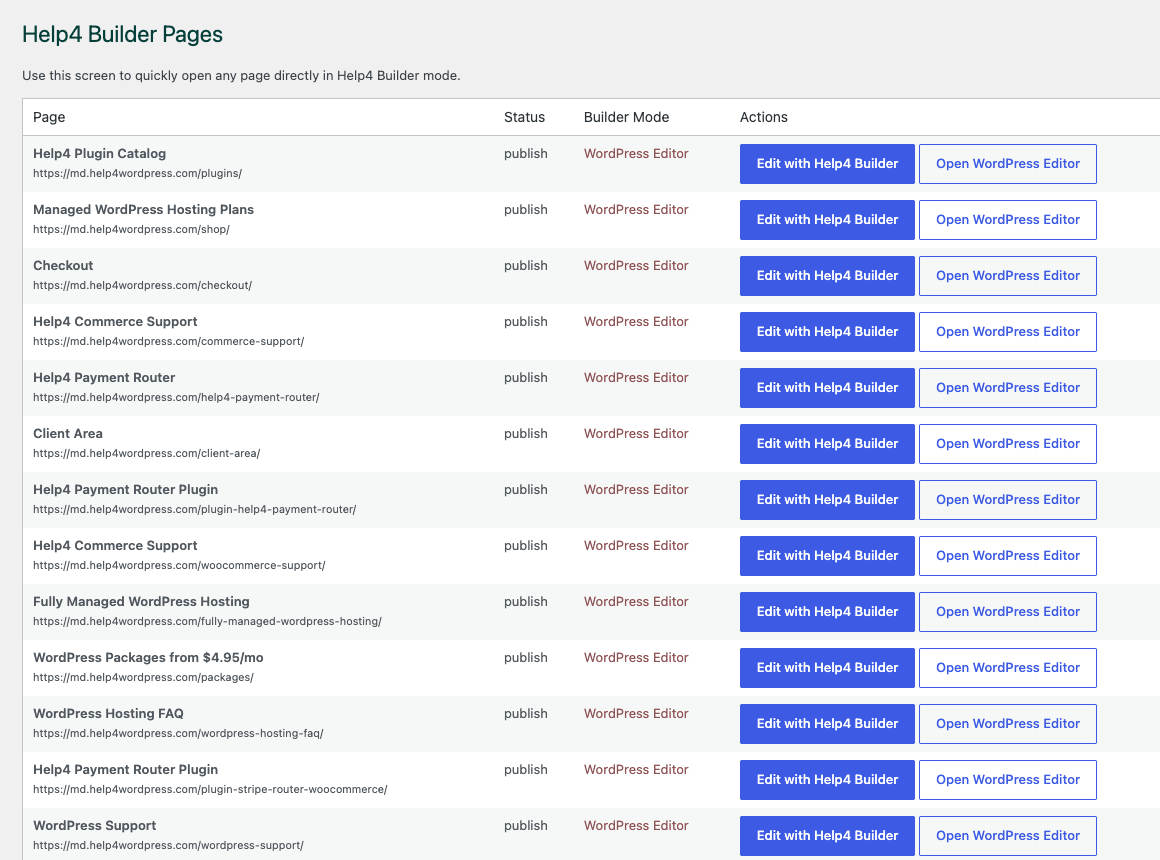
Builder Pages
Open the page list, pick the draft or live page, and launch Builder Studio from one obvious place.

Builder Studio canvas
Build structure first, add content second, then check responsive spacing before publishing.
1. Start a Page
- Create or open a page.
- Choose Help4 Builder mode.
- Click Open Visual Builder for full-screen editing.
2. Build Structure First
- Add Section or Inner Section blocks first.
- Set column/flex/grid layout, gap, and container width.
- Then drop content widgets into those columns.
3. Edit Elements
- Click an element in live preview to open its popup settings.
- Use grouped tabs: content, style, spacing, and advanced controls.
- Use media pickers (not raw URLs) for images/video whenever possible.
4. Responsive Workflow
- Switch viewports (desktop/tablet/mobile/large displays).
- Set per-device spacing and typography where needed.
- Keep layouts clean to avoid overflow and clipping.
5. Save, Preview, Publish
- Save layout in builder.
- Preview frontend and verify pixel parity.
- Publish only after checking key breakpoints.
Open Builder Feature Page View Screenshots
Beginner build path
Do this in order when you build the first real page.
Help4 Builder is meant to keep the hard parts organized. A customer should not need to understand theme hierarchy, plugin conflicts, or responsive CSS just to get a clean page online.
1. Start from a draft
Create a draft page, name it clearly, and open Builder Studio from Builder Pages. Leave live customer pages alone until the draft has been checked.
2. Pick layout before style
Add the page structure first: hero, proof, services or products, questions, and contact action. Colors and polish come after the layout makes sense.
3. Add real content
Replace starter text with the customer offer, locations, services, proof, and next step. Short clear copy beats a pretty page that does not explain what to do.
4. Preview every breakpoint
Check desktop, tablet, and mobile. Look for clipped right edges, stacked buttons, wide screenshots, long URLs, and headings that run too long.
5. Publish only after the front end matches
Save, open the public preview, and compare it to Builder Studio. If the public page differs, fix the source section before cloning or publishing.
6. Save a reusable starter
Once the first page works, save the pattern as a starter so the next page begins from a tested structure instead of an empty screen.
Picture walkthrough
Start with the four screens a new user actually sees.
This guide is for the person who does not want to learn every WordPress menu first. Install the plugin, run the setup wizard, open Builder Pages, and use Builder Studio to build the first draft.
Settings dashboard
Confirm the plugin is active, check module status, and find the main control areas before changing a customer site.
Setup wizard
Pick the site profile and enable only the tools this install needs so the builder starts clean instead of cluttered.
Builder Pages
Open the page list, choose a draft, and launch Builder Studio without sending a beginner through random WordPress menus.
Builder Studio
Build the first section, check responsive spacing, and turn starter structure into a real page customers can understand.
What to click first
After activation, open Help4 Builder Suite settings and run setup before enabling commerce, forms, SEO, sliders, security, or performance modules. That keeps the first install clean and easier to support.
What to build first
Create one draft page with a header section, one service or product section, a proof section, and a contact action. Save that draft as the working example before adding heavier templates.
When to use Help4 Blank
Use the blank theme when you want Builder Suite to control the page structure without fighting a heavy theme. Existing themes can work, but they may need extra cleanup.